We will make standard photo become a photo with the super high contrast with the stunning detail and textures . Kind of photo like this is suitable when you want to shoot building, machine, metal or vehicle which is full with textures and we want it more stunning. For retouching, we can use any photoshop version. Look at two photos bellows ( before and after) :
 |
| BEFORE |
 |
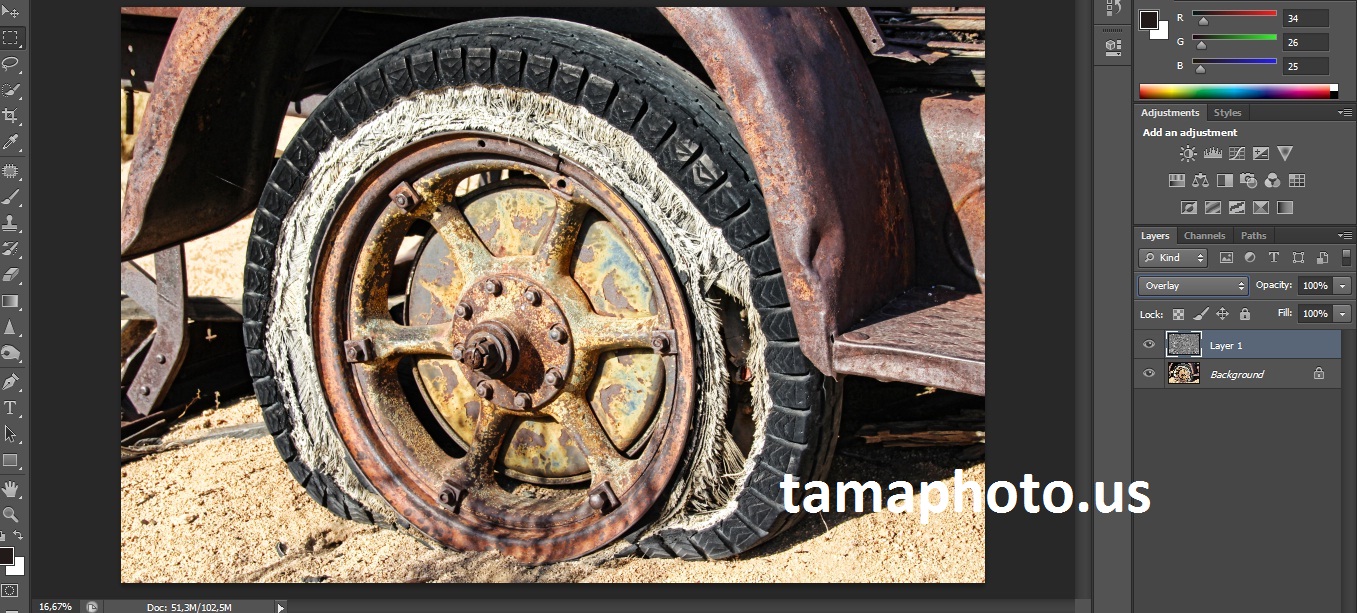
| AFTER |
1. Open photo in Photoshop

2. Duplicate layer background, press the button Ctrl + J ( mac : Cmd +J)
3. Change the layer Blending mode of duplicate become Vivid light

you will get Horrified photo like this :

4. Invert the top layer with command Ctrl +i (mac Cmd+i), you will get photo like this :

5. Now, the next step is apply the surface blur filter. Click Filter > Blur > Surface Blur :

6. When the dialog box pops up, insert the number 40 in Radius and Threshold. If you shoot with Digital SLR Camera, this number is usually fit :

7. Wait for seconds because this filter is the one of the slowest filter in photoshop. When it's done, press the shortcut like this together : Shift + ALT + Control + E. and you will get photo like this

8. Delete the middle layer, so you only have 2 layers. Then delete the color in the top layer with (Image > Adjusment > Desaturate) or press the shortcut Shift +Ctrl + U ( mac : Shift + Cmd + U) . You will get sharp photo like this :

9. It's almost done , now change the blending mode from "normal" become "Overlay", and the result is the high contrast photo with the stunning detail and textures.